Do you have a welcome sequence setup for new email subscribers? Do you have an email workflow to educate and provide value for your audience? What if there was a way to automate all of this – would you be interested in getting that setup? You’re in the right place!
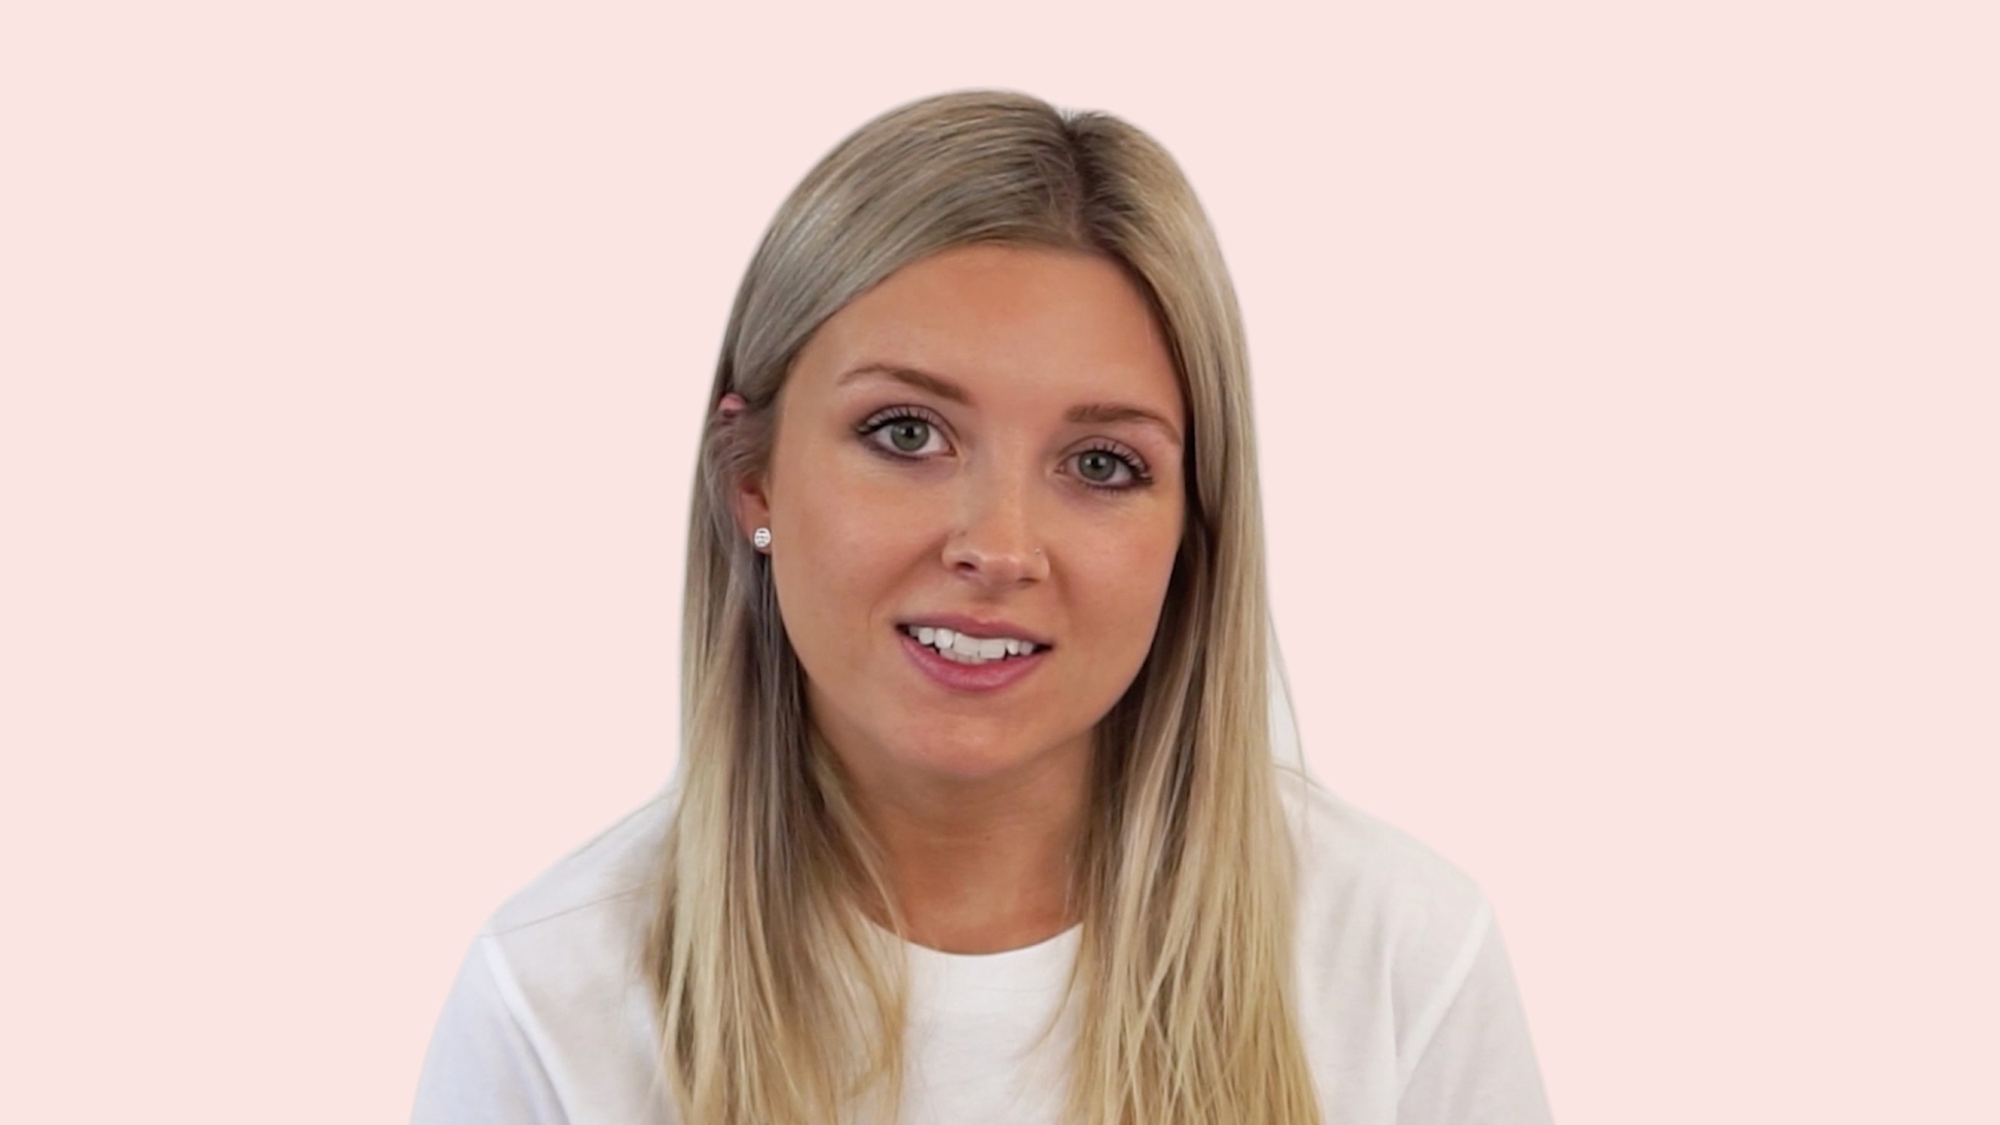
Rosanna Clark, aka Anna, will be guiding us in designing an email workflow. Anna has a background as an online educator, supporting creative freelancers through design services, marketing courses, and more.
Here’s Anna to assist you in creating your first email workflow:
In the other course I teach on Flodesk University, I explain what email workflows are and detail their benefits. There are numerous examples of why you want to use email workflows, such as providing an educational pdf, a free opt-in lead magnet, a welcome series of emails, nurture sequences, email courses, and lots more. Check out that course here (hyperlink) if you haven’t read through it yet.
Today, I’m going to walk you through the process of creating an email workflow on Flodesk. It’ll be helpful to split the Flodesk Workflow and this course on your screen to follow along.
Under ‘Workflows’ at the top, on the upper right-hand side, click “New workflow.” You’ll see Flodesk already has templates to use, or you can click “or start from scratch” on the left-hand side. Give your workflow a name for you to identify it by; it won’t be visible to your email subscribers.
The first step is to add a trigger. A trigger is what sets off a workflow and the automation to begin. Usually, the trigger you will use is to add a subscriber to a segment. Then, ‘Choose segment(s)’ that you want to be added into the workflow and add that as a trigger. With the little ‘+’ button, we can add the next steps that happen once the trigger begins kicking off.
There are a few different options, like send an email. You may add a time delay if you don’t want them to receive the first email in a segment or delay receiving it for days or weeks. If you want to remove the time delay, click the ‘X’ in the box’s upper right-hand corner. You can add conditions so the next steps will only occur if something has happened. I’ll go into more detail on this below. You can also add an action like add a subscriber to a segment or remove them from a segment. This typically won’t be the first step since we’ve just added them into the segment with the first trigger.
Likely the first step here is to set up an email. You’ve got a couple of options. You can duplicate an existing email so it will show recently sent emails from your email campaign section. You can choose to use one of them as a template. You can also create a new one using one of Flodesk’s templates, or you can create a new one from scratch. Lastly, you can also click on ‘My favorites’ if you have some designs and templates to replicate various workflows. Find the design template you want and click customize.
Here, if you are using a template, you can fill in text and images as you want. Since we are delivering a free PDF, we want to ensure that the link is included in the email. Click within an element on the template, then click ‘Link’ on the right-hand side and make sure it is linked to a pdf file that you have uploaded there. Design as you would with a regular email, and then click ‘Finish’ in the upper right-hand corner.
It’s important to notice on the right-hand side, you can click to go and edit it again, but don’t forget to change the subject line. Make it enticing to encourage people to open it, and of course, fill in the email preview text as well.
If you’ve kept it simple with this email workflow, you could call it finished and click publish, or you could add a time delay and add more emails to your sequence.
I would suggest if you intend to have or you do have a lot of freebies or opt-in incentives–instead of including a welcome sequence or a series of emails that get sent after your free download in one workflow. Keep your welcome sequence separate – because what you don’t want to happen is one person downloads lots of different freebies from your website. Then they receive loads and loads of the same emails if you’re creating lots of sequences with emails that come after the freebie delivery. So, I would suggest you build it as a separate welcome sequence.
If you do want to do that, make sure and include a segment called welcome sequence. What you want to do for that is once someone has received this email, you want them to be then added to the welcome sequence segment to add them to the welcome sequence workflow. To do that, we’re going to click the ‘add’ button and use the action. On the right side, we’re going to make that action to add the subscriber now to the welcome sequence segment. Once they have received their guide, they then get added to the welcome sequence segment. You can then create a workflow.
Click ‘Publish,’ and that will set this workflow in motion automatically to start working.
We can then create a new workflow, call it welcome sequence, and have the trigger be that someone is added to that welcome sequence segment. If you click edit over the welcome sequence workflow (once you’ve created it), it will pause it, which means that anyone who is currently in the workflow won’t receive the next step until you unpause it. In the edit screen, you can see the trigger is added to the welcome sequence segment, and this kicks off the workflow, so after this, they get my first welcome email.
Then I recommend having a time delay and removing them from the welcome sequence segment after that. So, when you send out email campaigns, you don’t want to send them out to the same people who are currently in your welcome sequence. When you create email campaigns, exclude this segment, which means once someone has been through your welcome sequence, you want to remove them from this segment because otherwise, they would be excluded from all your other emails. Still, it depends on how you set it up and whatever works for you.
Lastly, I want you to see that last step which is you can add a condition. For a more complicated workflow, with many steps, first, they’re added into the segment. They receive an email, and it can vary from there. Likely a time delay with another email, time delay, and another email, etc. Until you may get to a point where you want to set up a condition, you can add new steps at any point where there are vertical lines. A condition can split up the next steps for your subscriber if they had clicked a link up to that point or not. If they had opted out of the email, they would be removed from the segment and won’t receive any more emails.
Maybe you want to set up in reverse, where you won’t send the remainder of the emails until you know that they’ve opened up an email or clicked a link in the last email, and it only sends the next steps to them if they have done that.
That’s an introduction to all the steps you can add to a workflow. It can become quite complicated, and you can make it as in-depth or straightforward as you’d like.
There is analytics under your workflows to see click-through rates and other numbers. Click on the small bar graph in the bottom right corner of each workflow. You can see the total number of subscribers, those in the workflow currently, and those who have already completed it. If you click on view details, you can also see how many subscribers have opened each of these emails and the click rates and open rates. Over on the left, you can see the list of specific subscribers as well.
If you’ve built up quite a few workflows, you can better organize them into folders which can be useful. You can also change settings such as the name by clicking the three dots in each workflow’s upper right-hand corner. You can add and remove subscribers manually. You can duplicate a workflow. You can add them to a folder, rename or delete them. Turn them on or off as well.
Hopefully, this has been clear in helping you navigate and create an email workflow. They can be so beneficial and save you tremendous amounts of time. Plus, you can personalize them by segment for your subscribers. I definitely recommend setting one up. Have fun setting up automations in your email workflow!
What to Watch Next
How to Write a Workflow Email Funnel
How to Grow Your Email List: Focus on Your Target Audience vs. Your Ideal Client
What Are Workflows and When to Use Them in Your Email Marketing
